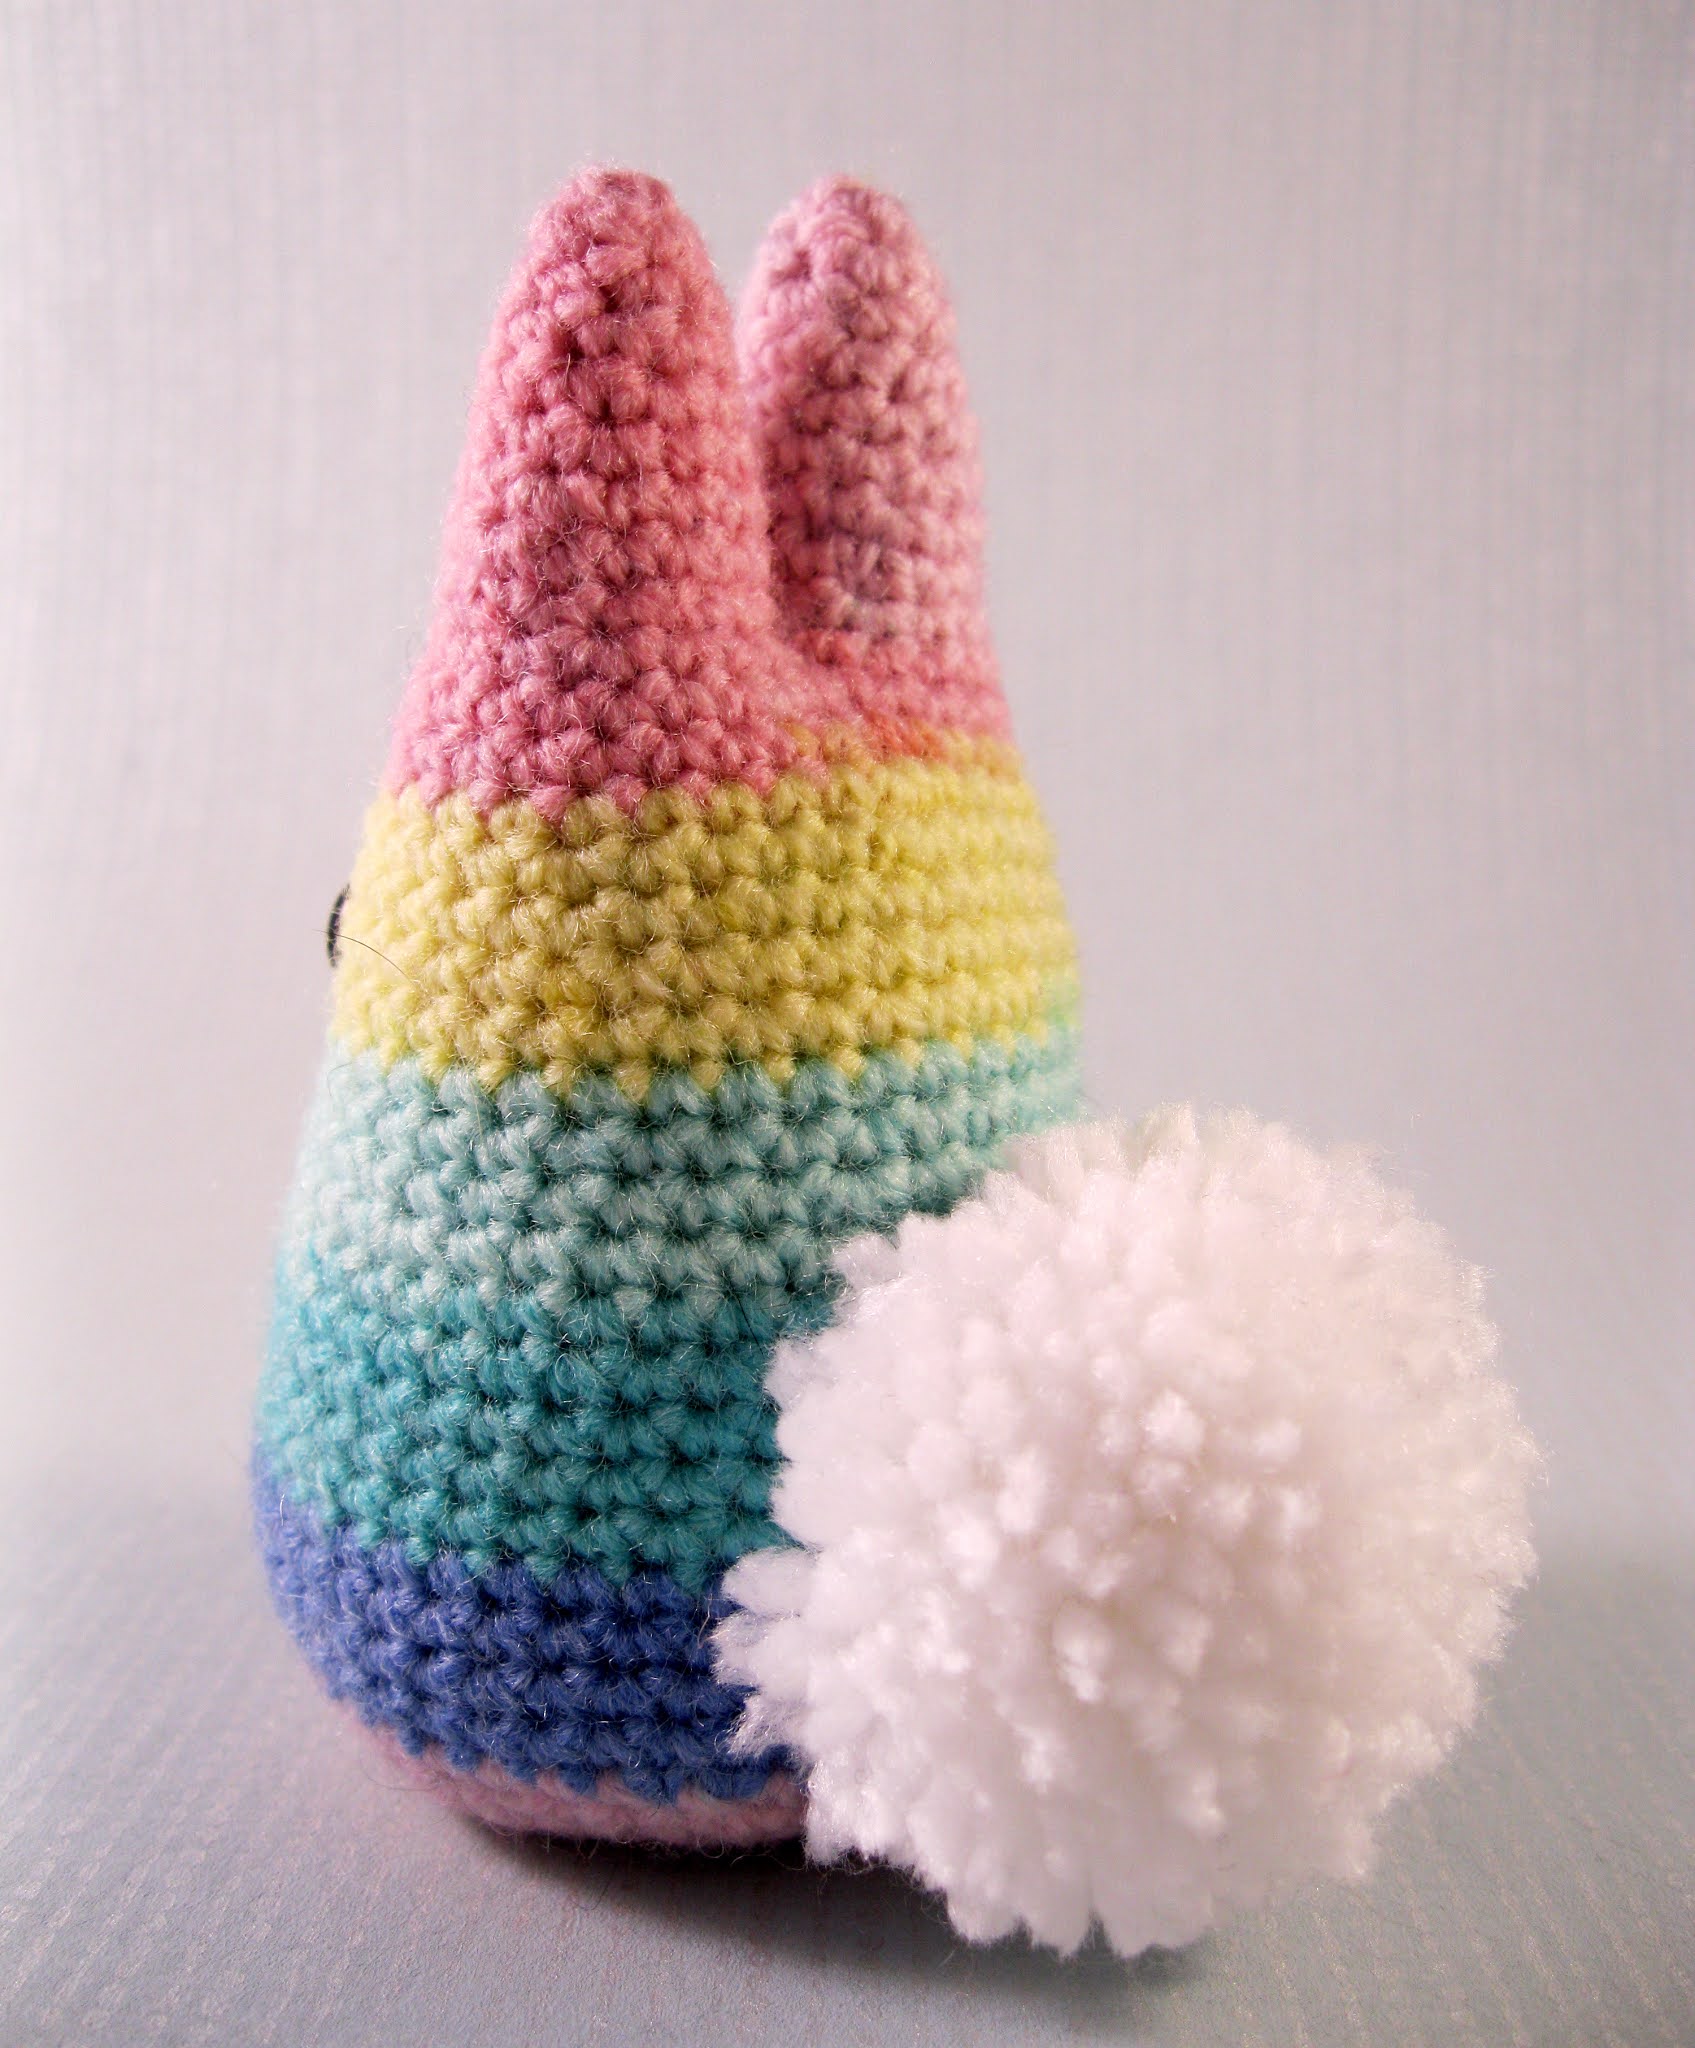
My latest project is a collection of crochet patterns for nine tiny woodland animals which includes: fox, badger, squirrel, rabbit, hedgehog, mole, otter, sitting and flying owls, as well as patterns for a playmat, tree stump and hollow log. Like some of my other patterns, such as the Tiny Cats and Dogs, these make cute little animals, ranging in size from 4 cm to 10 cm (1.5" to 4") long, which are mostly crocheted 'all-in-one', with the ears, legs and tails made as you go along, and minimal sewing.
As I live in the UK, these are woodland animals that I'm familiar with from Britain, and I've made them in a realistic style, at least as far as I can given their size. Although they're not totally in scale, I've tried to keep them mostly in proportion with each other. They don't use much yarn, so they're good for using up scraps - I made them using acrylic yarn with a bit of wool or alpaca mixed in, to give a nice, soft effect.
This set is perfect for animal-loving children to play with (due to the size of the animals they wouldn't be suitable for any children under three years) but you could also make them for anyone who loves any of these animals - they're easy to turn into key-chains or decorations, and a group of flying owls would make a great mobile.

I gave the owl a little hat, and made a scarf for the squirrel, to make them into Christmas decorations.
Fox
One of my favourite animals, known in folklore for their cleverness and cunning. It's not too hard to spot an urban fox at night, but I especially love it when I see one in the countryside during the day, when their red coats show up so beautifully. I was lucky enough recently to spot one in a field through a hedge, only a few metres away, hunting by pouncing into the grass and catching (and crunching!) a vole.

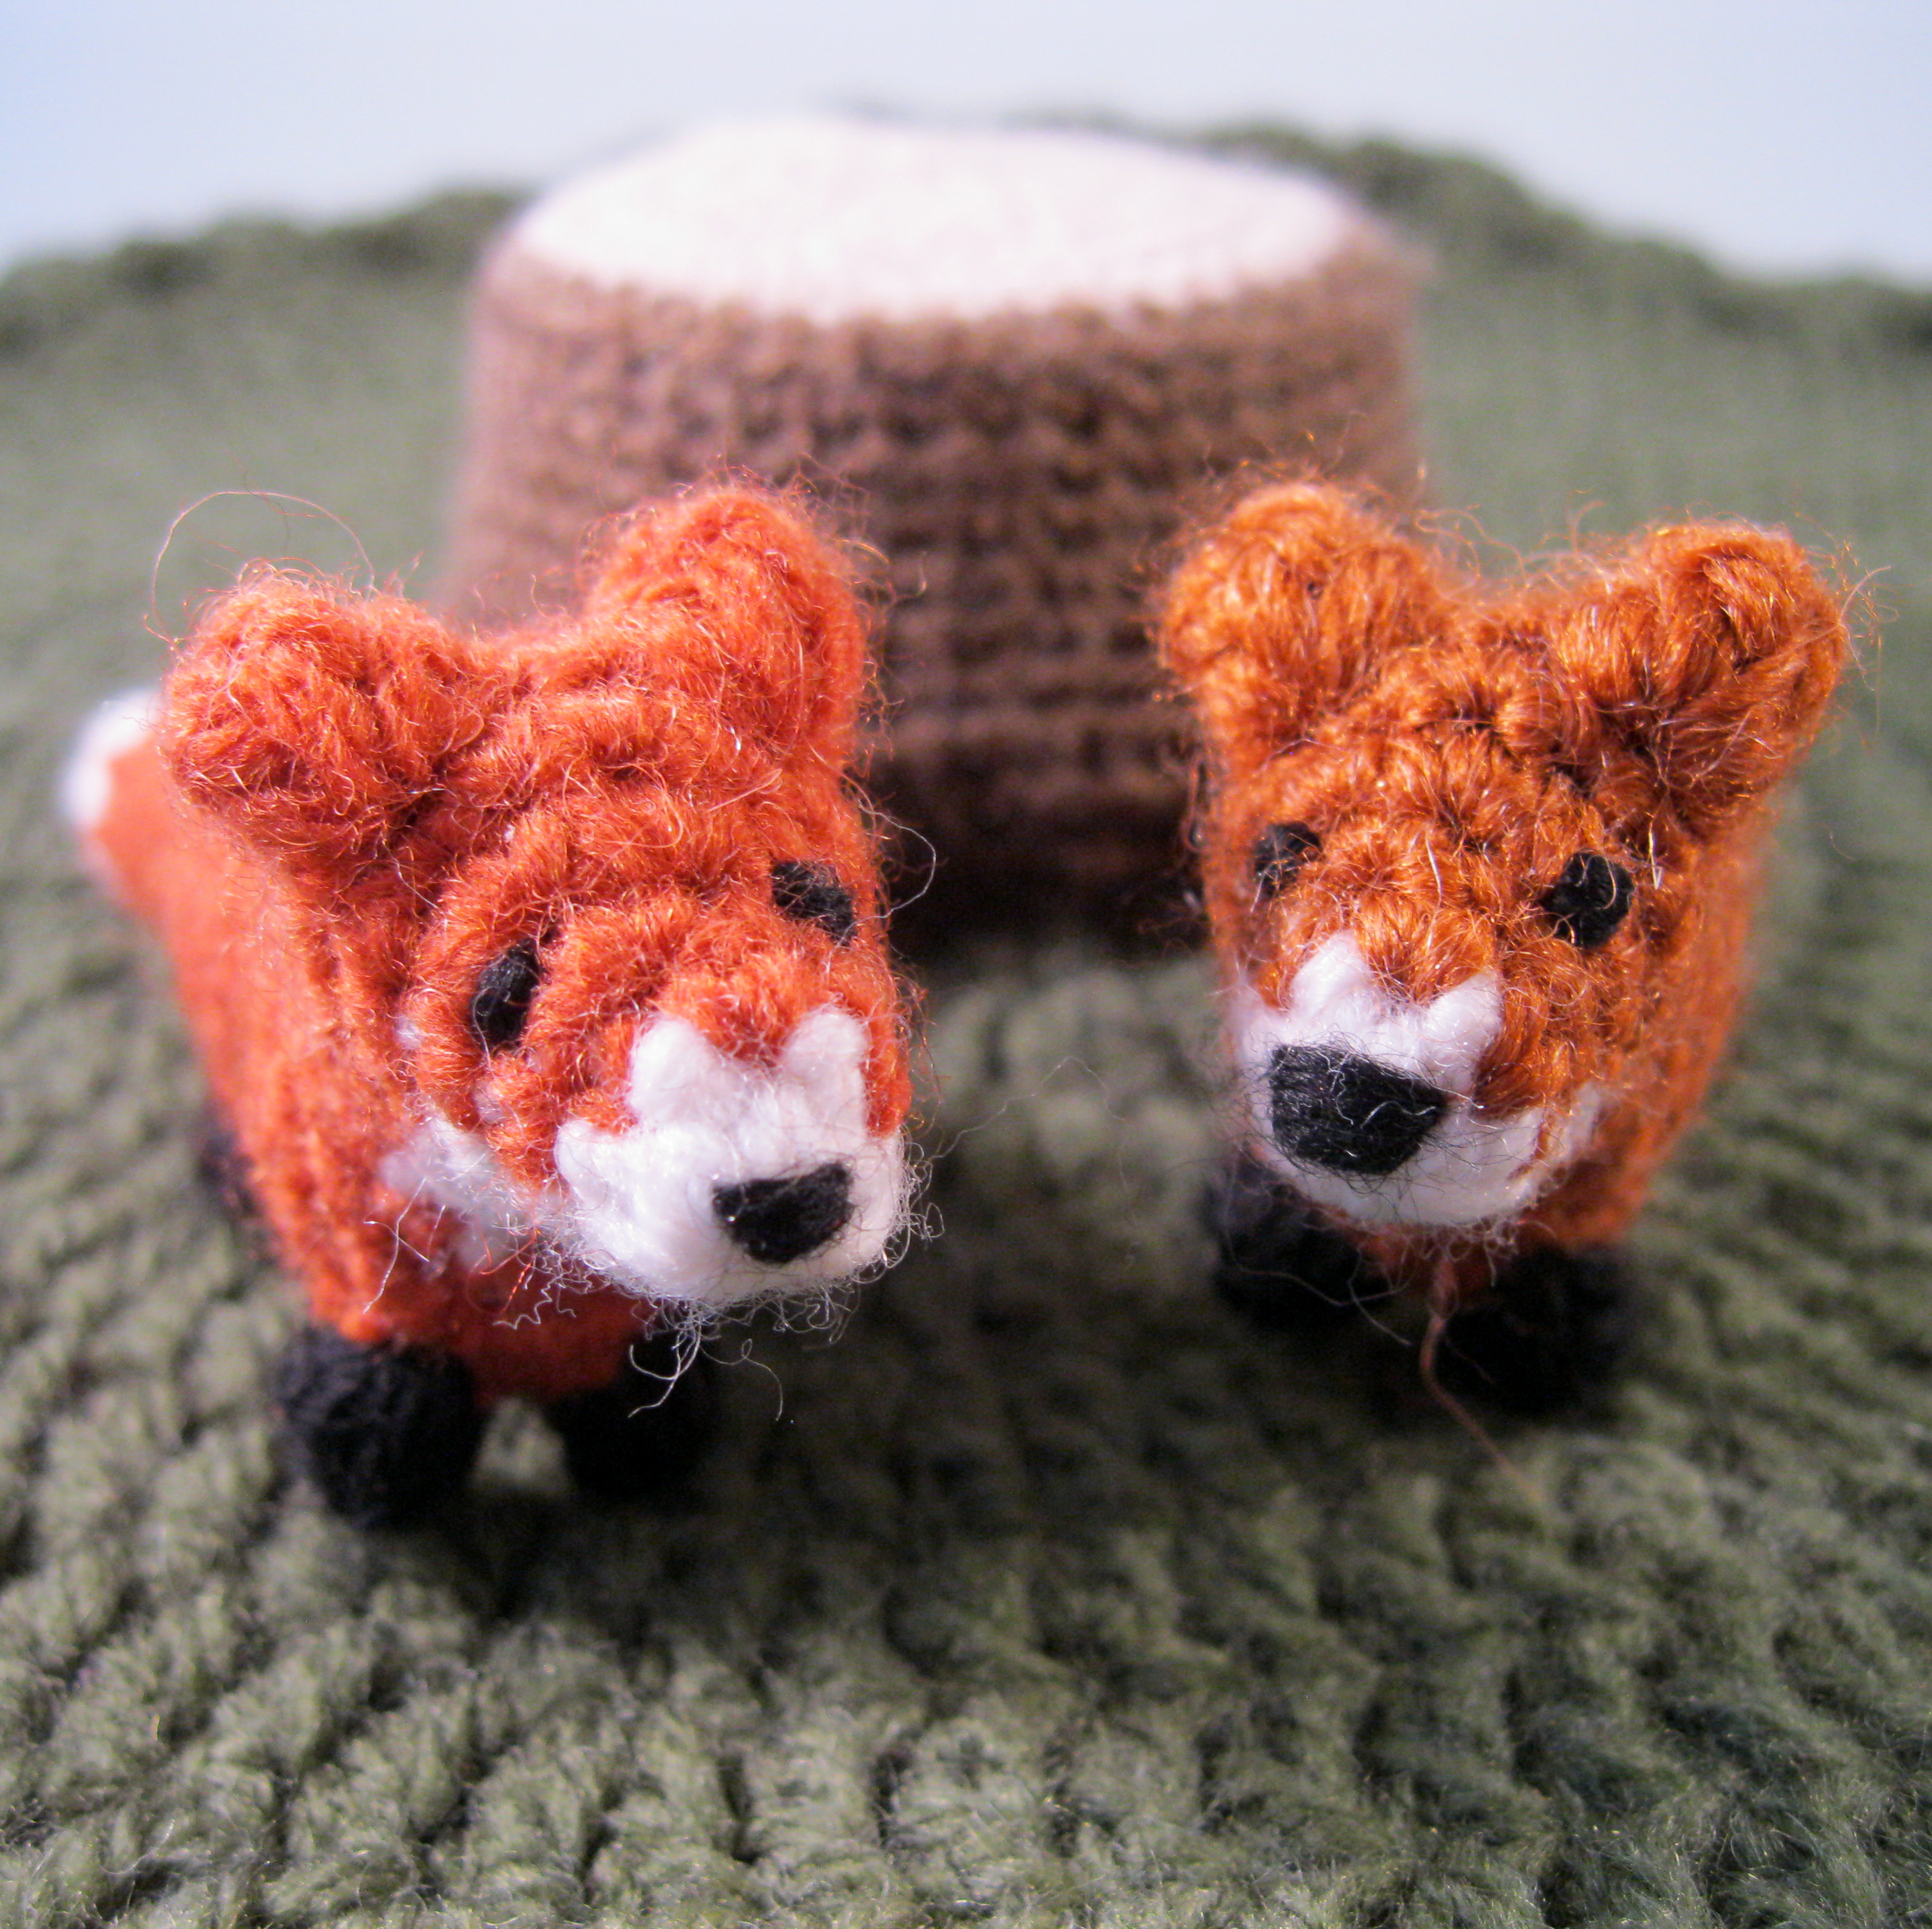
For such a small creature, there was a lot of work in getting this pattern right. The changes of colour to get the white patch under the chin in just the right place, and all the increases and decreases to get the shaping of the body took many tries! Like most of the animals, the fox is crocheted from nose to tail with the ears and legs made as you go along, so the only sewing you need to do is the features and the hole at the end of the tail.

If you want to crochet a much bigger fox, try my Bracken the Fox pattern.
Badger
Whilst badgers in other parts of the world are often known for their aggression, that is not the case with British badgers. Made popular in children's literature with the kindly, paternal Badger in The Wind in the Willows, they are often thought of as determined and patient.

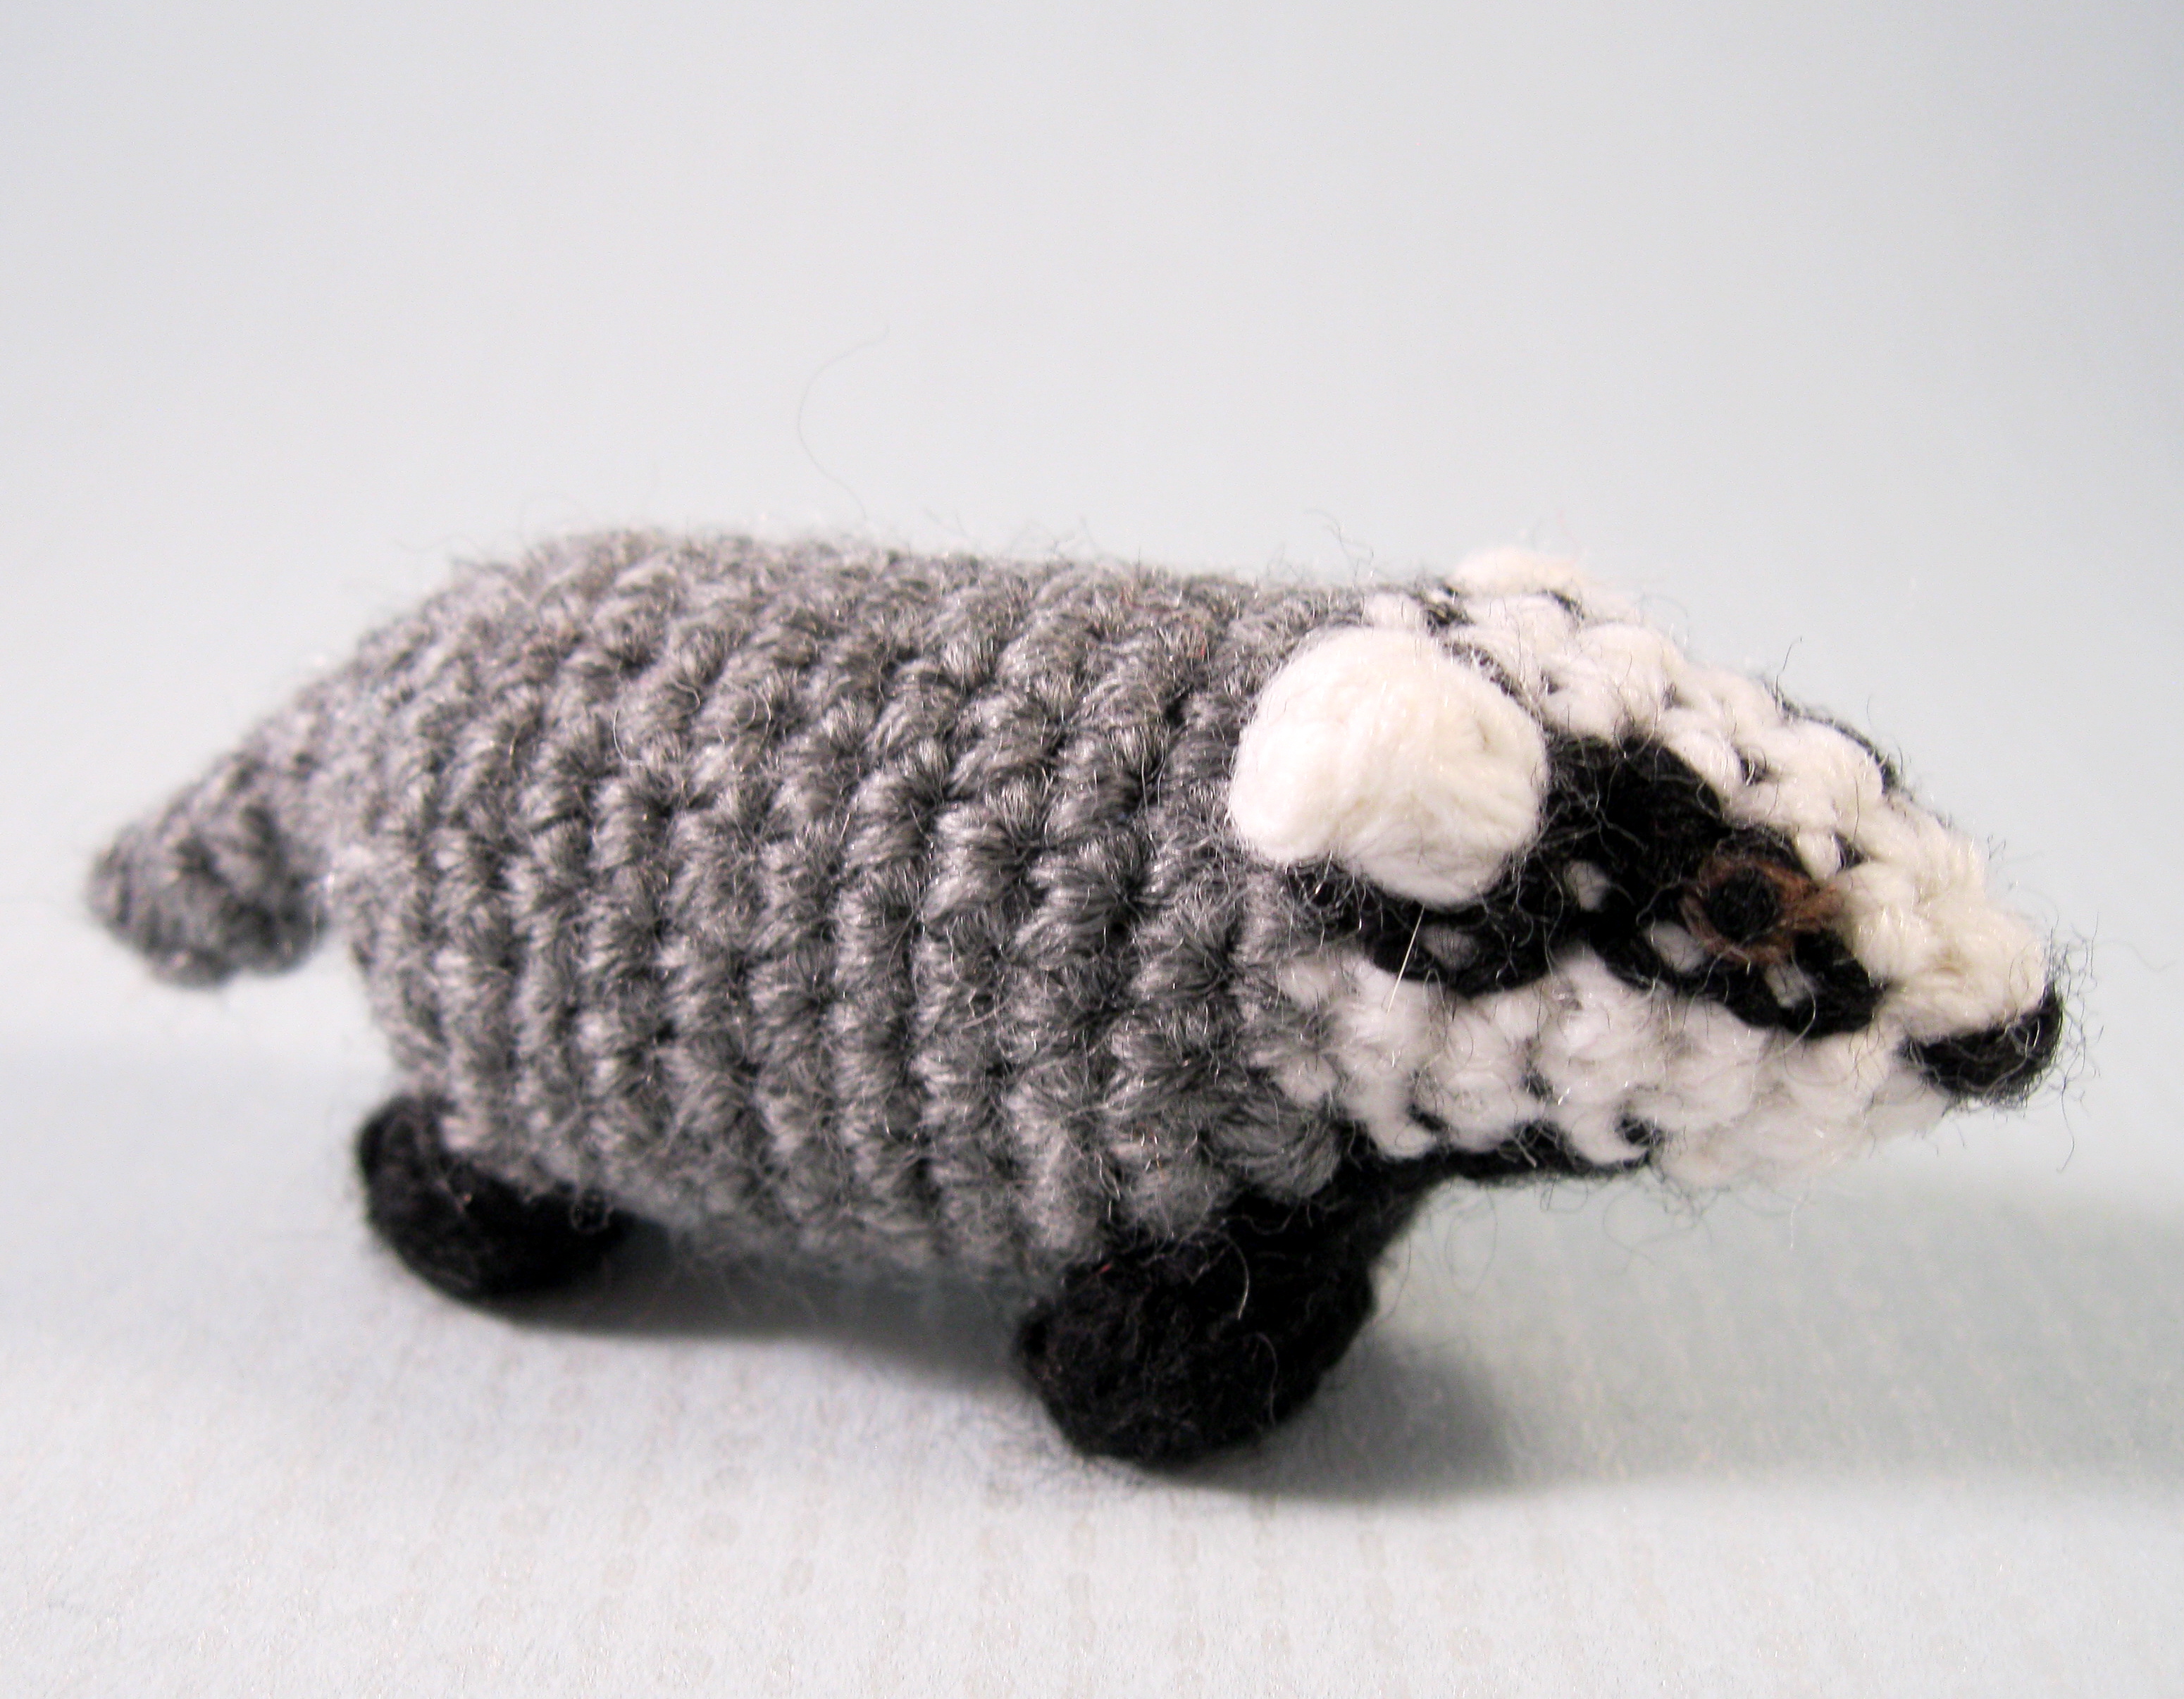
The distinct pattern of black and white stripes on the face weren't easy to get right, especially over such a small number of stitches, but I worked it out eventually. Since badger's eyes are on the black stripe I had to sew some brown with a black dot on top to make them show up.
For a larger, cuddly badger pattern, why not give Blackberry the Badger a go?
Squirrel
Red squirrels are native to Britain, but the introduction of North American grey squirrels in the nineteenth century has meant that they are mostly found in the rural North of England and Scotland, and are not so easy to spot. Grey squirrels, on the other hand, are common in woods, parks and gardens, and are probably the main wild mammal that most people see regularly. Either version is wonderful to see, leaping from branch to branch, using their wonderful fluffy tails for balance.


The tail was the main design challenge in this pattern. I tried to make it as part of the body, but that just wasn't possible. Once I decided to make it separately I wondered whether to make it fluffy, or as a solid shape, but I after a couple of experiments I came up with a way of making it that I'm really happy with.
Rabbit
Another relatively common animal that I sometimes spot on country walks, or nibbling on road verges when I'm driving along, I fell in love with rabbits when I read Watership Down as a child.
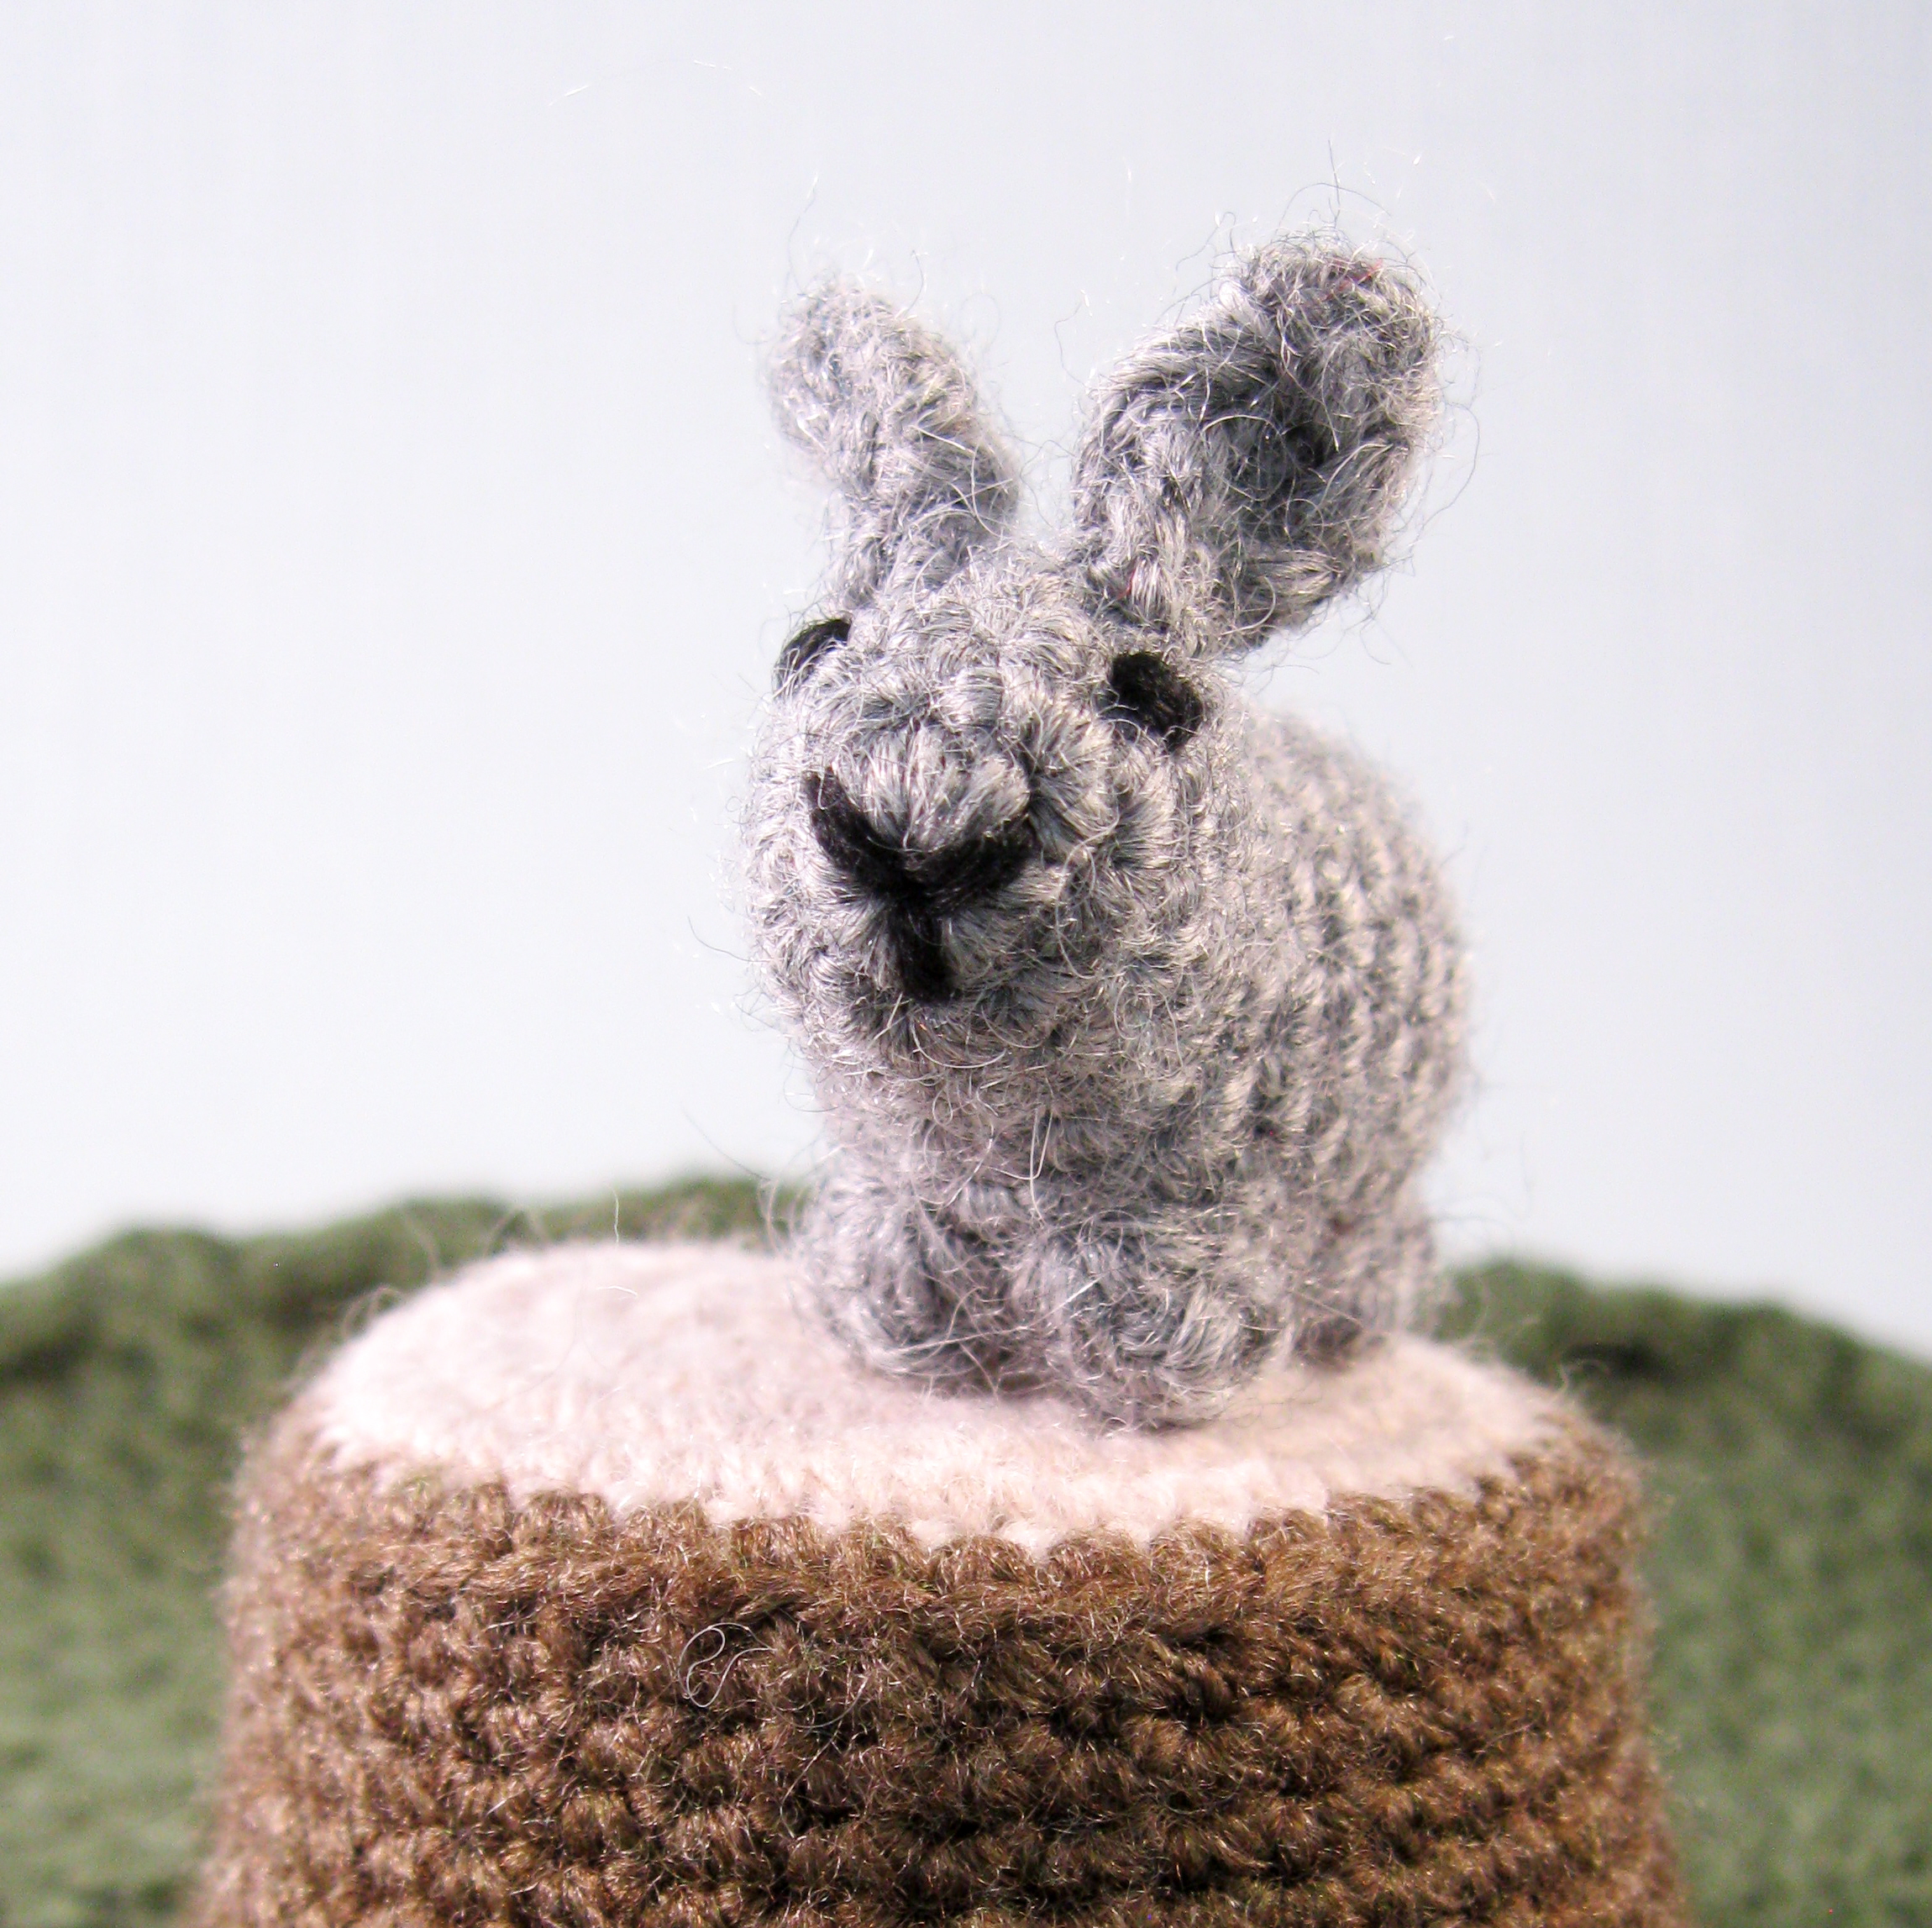

I already have a free pattern for a little rabbit available here on my blog, but I worked on it and tweaked it to make the shaping on the head better and more realistic. The tail is made separately, I tried to make it as part of the body but that didn't work as well.

Hedgehog
A very endearing creature which is very popular in Britain, although their population is sadly in decline due to habitat loss. Sometimes seen snuffling around gardens at night, it's a long time since I've seen one, although I do remember saving several baby hedgehogs that fell into a drain outside our house when I was little!

Given how small this pattern is, it was hard to work out how to make the hedgehog's prickles. Any three-dimensional stitches would be too big, and so I ended up using spike stitches in a different colour to give the effect of spines. Hedgehogs do have ears, but they're quite small, and at this scale I couldn't include them without them being out of proportion.
Mole
A small creature that is rarely seen, though the evidence of its existance, molehills, can be found all over the place! Another animal that appears in The Wind in the Willows, moles are seen as modest and introverted, with their tiny eyes and poor eyesight, and the fact that they spend most of their lives underground.


I made my mole with dark grey yarn, as although they have black fur, it has a bit of a shine to it, making it look more grey. In real life their eyes are barely visible, but I did sew little black eyes, even if they're hard to see in the photo. Luckily it is easy to see their cute pink snouts and big, spade-like front paws.
Otter
A beautiful creature that's known for its playful attitude, sadly it isn't easy to see in the UK. Found along waterways, their populations are only just starting to recover after years of pollution. Various species are found all over the world, from giant South American otters to sea otters, but they always spend most of their time in the water.

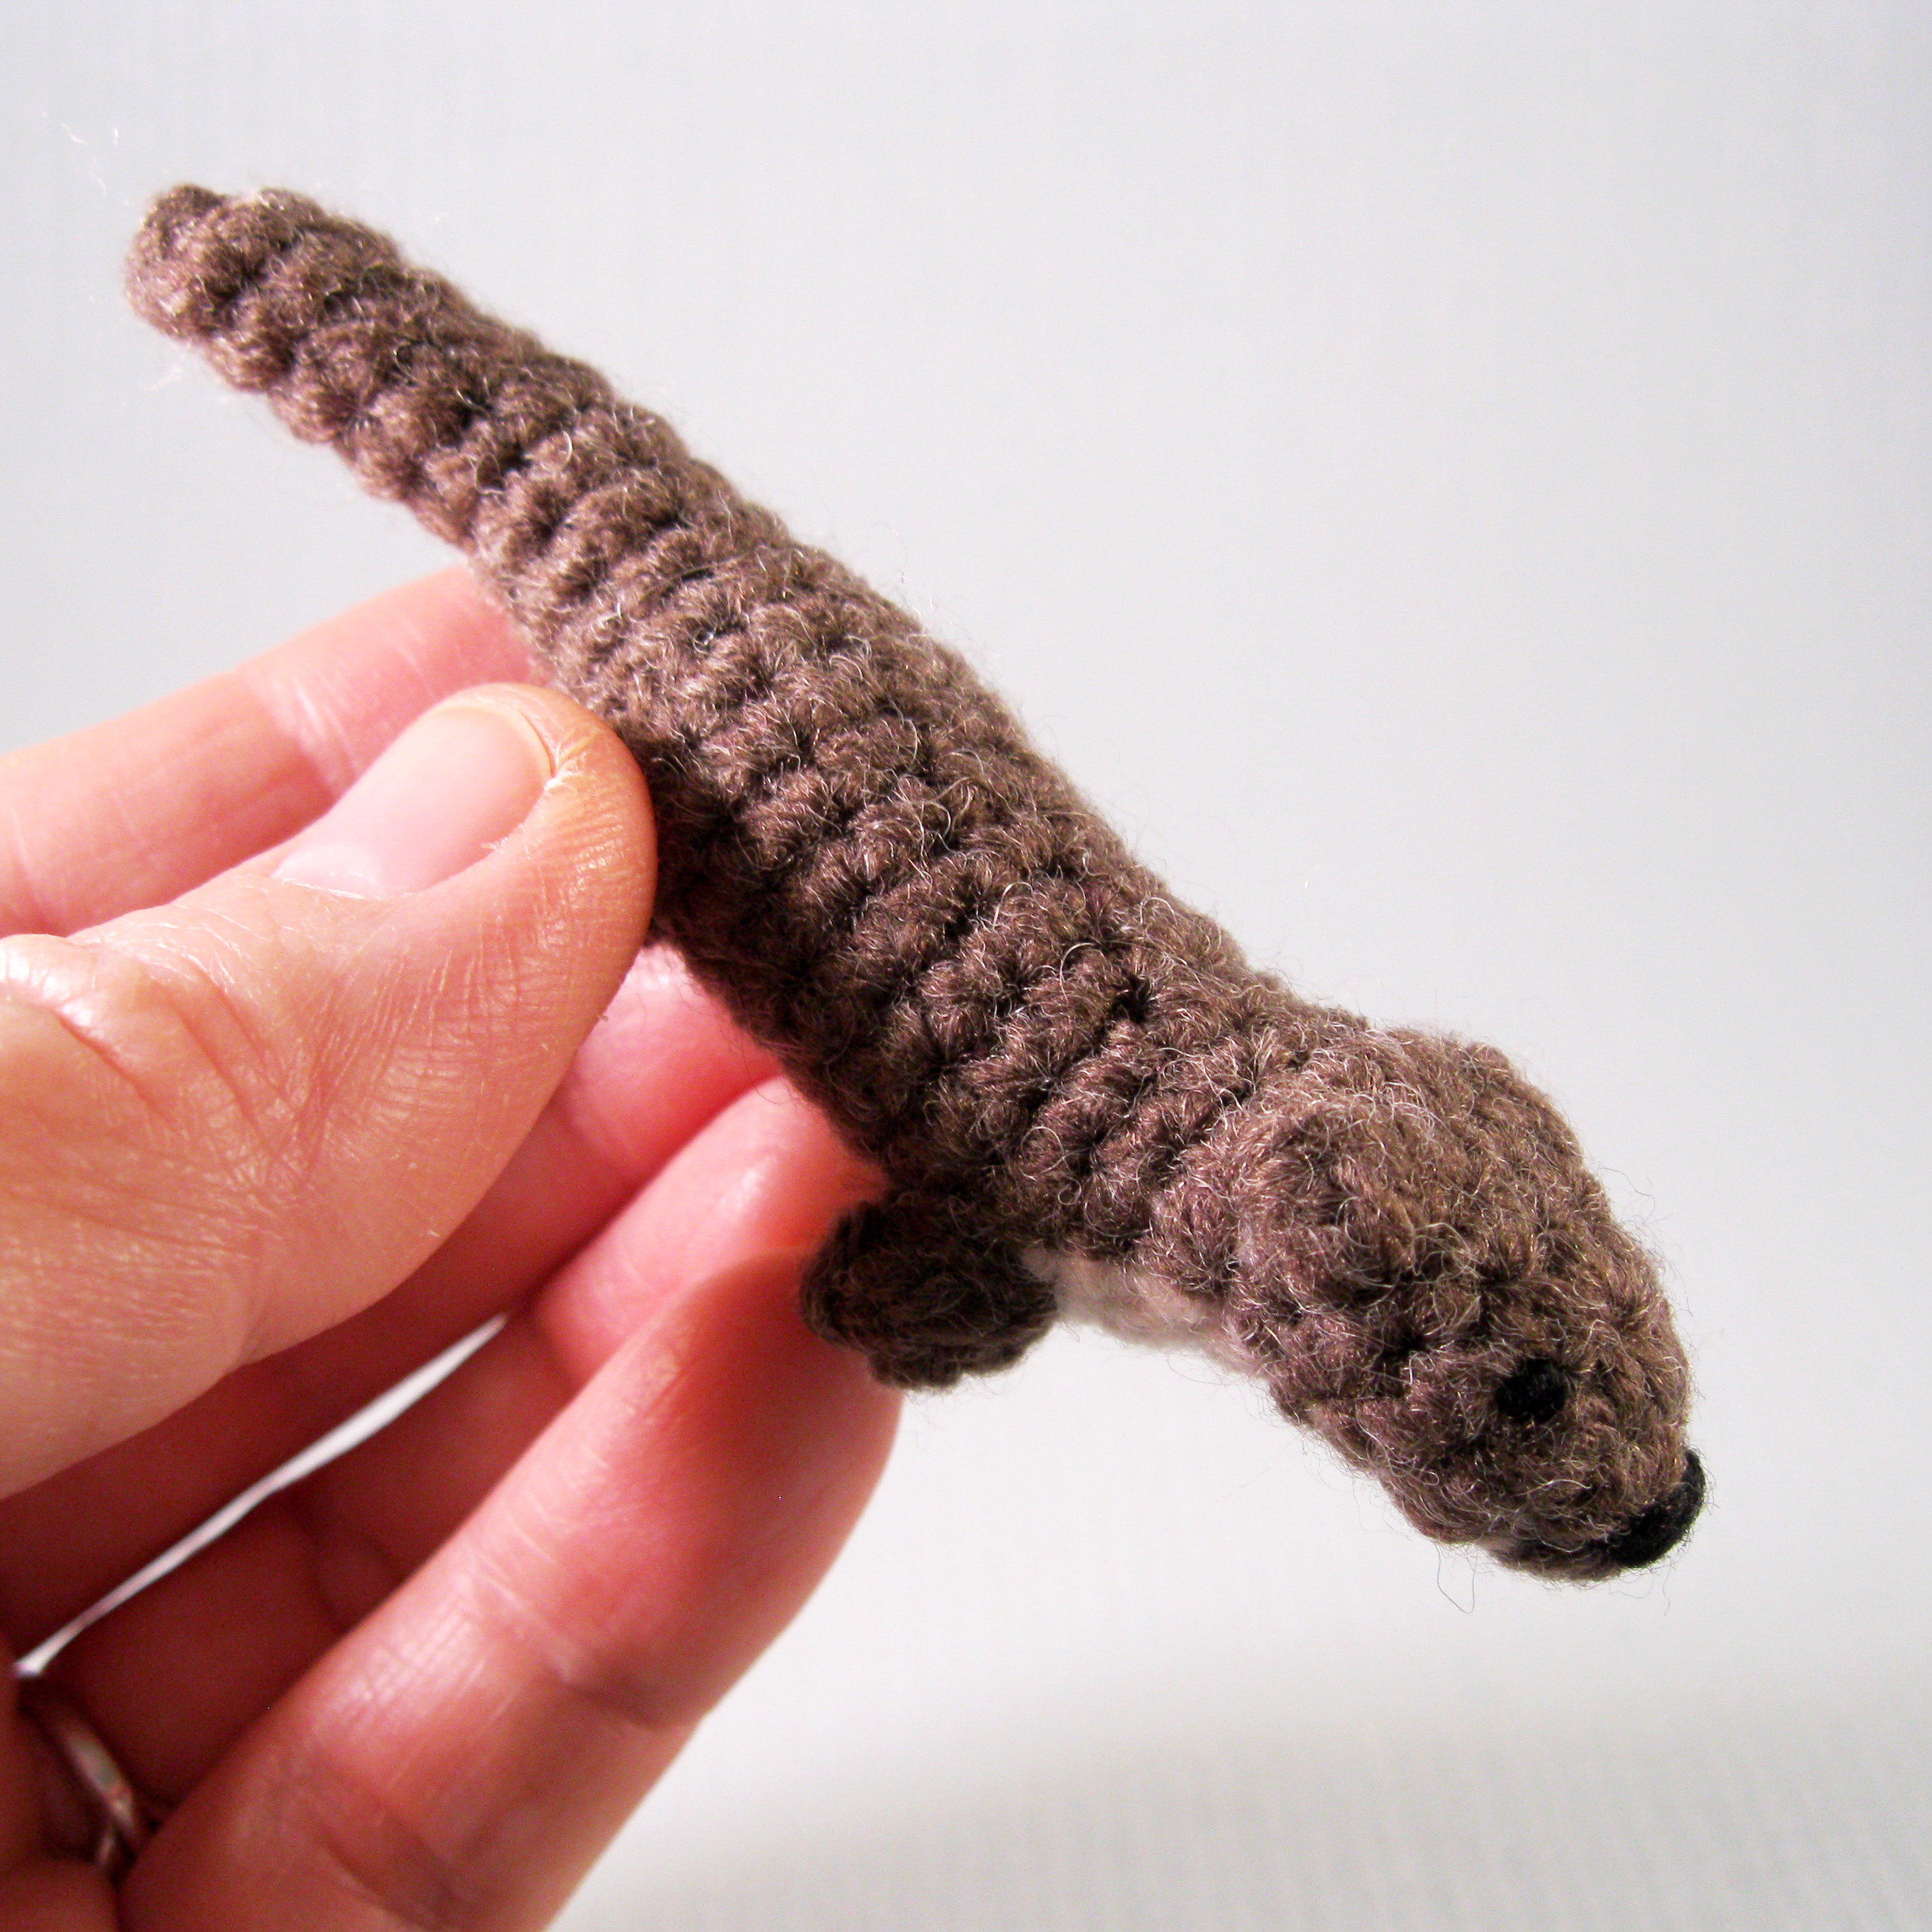
This is quite a simple shape, the most complicated part of the deisgn was getting the pale colour on the neck in the right place. You could always change the colours to make other similar animals, such as weasels, stoats, pine martens or ferrets.
Sitting and Flying Owls
I love owls, they're beautiful and unique-looking birds that are found all over the world. They feature strongly in myths and literature, with their large eyes, round faces and silent flight making them seem mysterious and wise, although sometimes they just look very cute!


I mostly based these patterns on the short-eared owl, but many owls have similar colours, and you could always change the colours to match a particular species of owl. The sitting owl, made all-in-one, has a detailed speckled chest, a short tail at the back, and little feet. I tried a few different techniques to make the chest, but eventually I was happy with the way it looked. I was very keen to make a flying owl, they look so impressive in flight with their wings stretched out wide. The wings are made separately, and I rather like the way that crochet stitches automatically give the look of feathers.
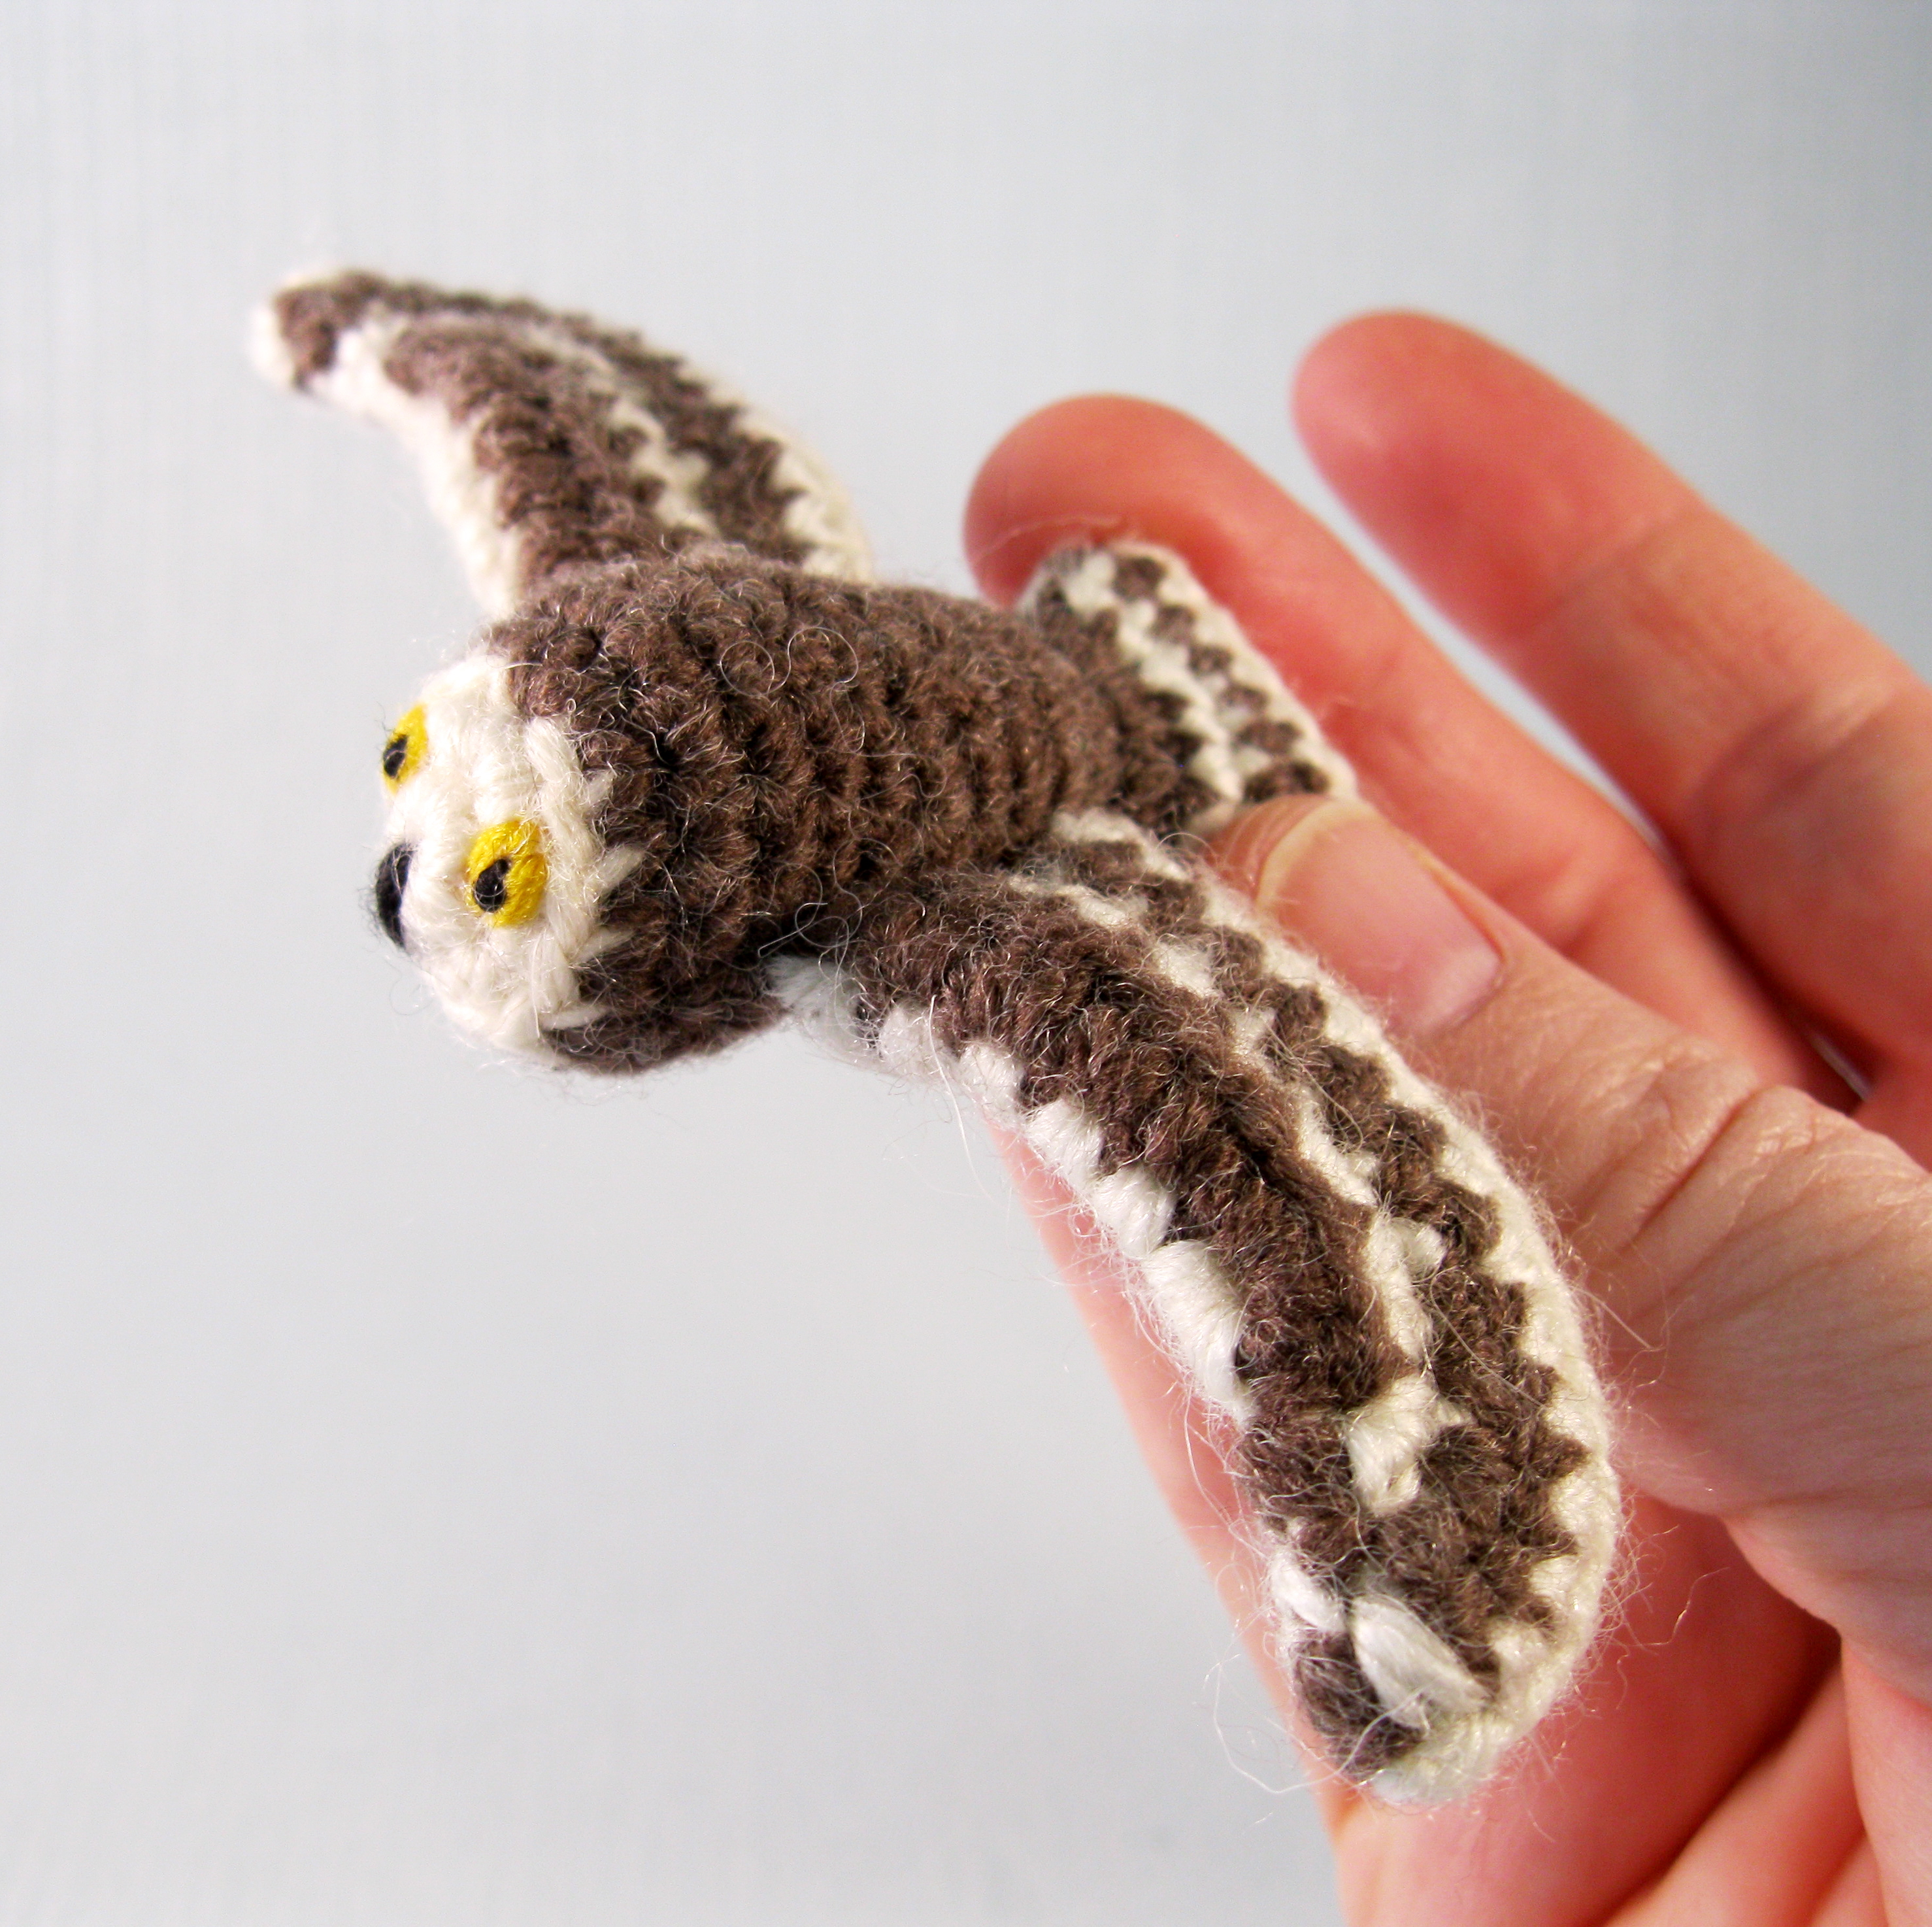
I also have a pattern available for a larger owl in a sweater, the Flappy Owl.
Playmat
A simple circle of grass with a tree stump in the middle, it makes a great place to play with the animals. You can also make a hollow log for the creatures to hide in, and the mat has a drawstring around the edge so you can use it to carry the toys around. You could also just make the tree stump and use it as a little display for one of the animals.